
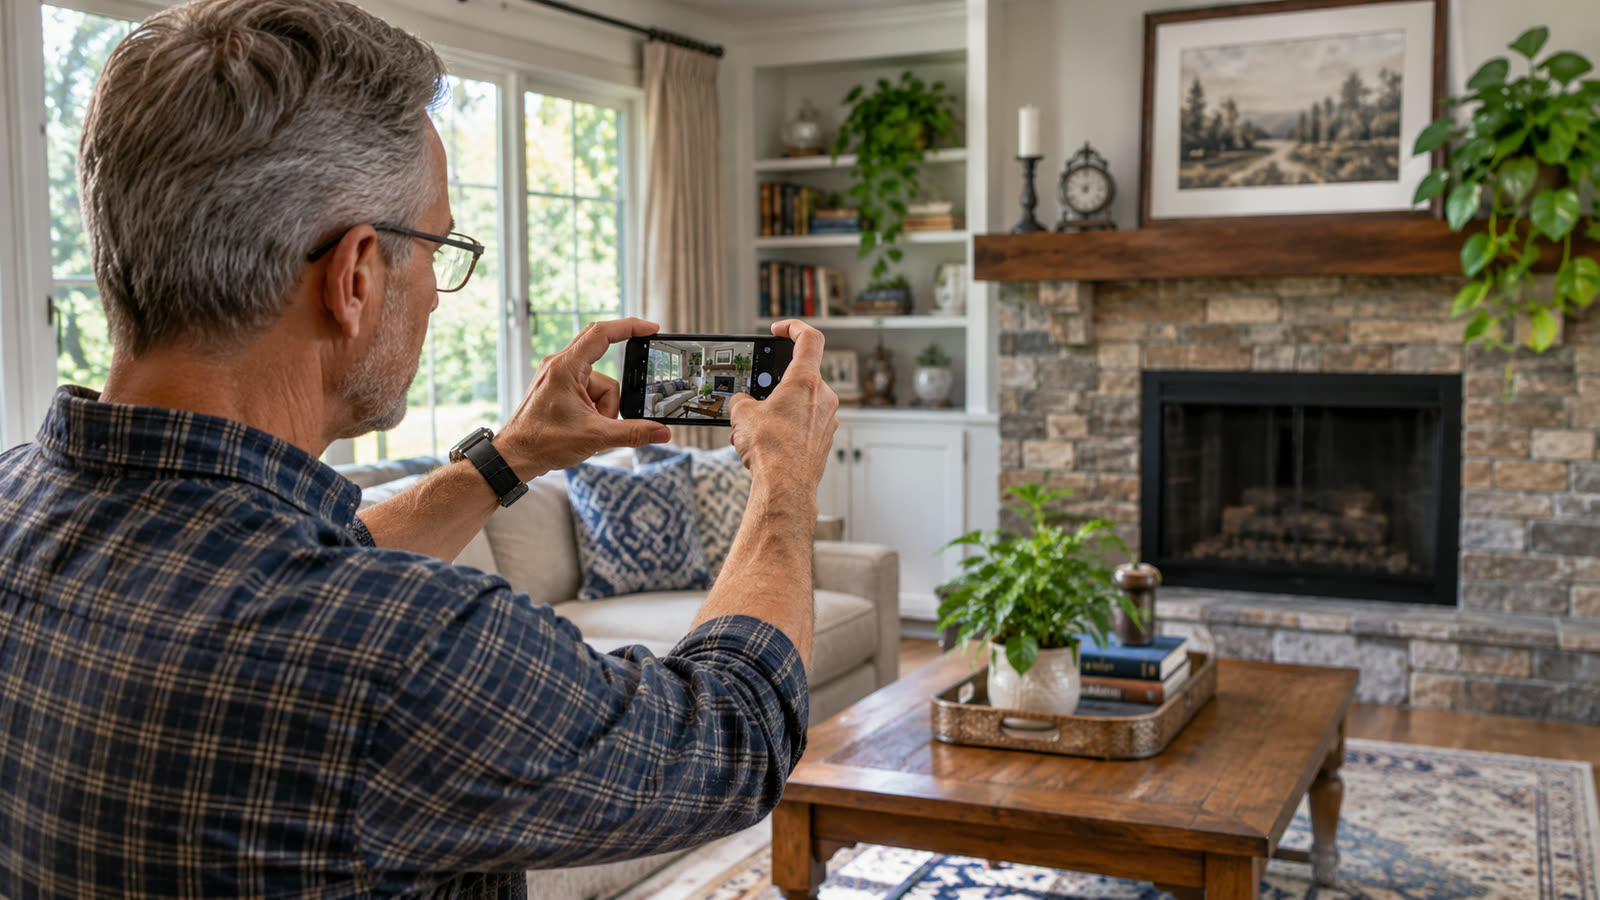
A few thoughtful pictures today can later serve as a useful record of rooms, belongings, and building features.
 Start with the room, not the individual object
You do not need a professional camera or a perfect inventory to begin. Stand in the doorway and take a photograph that shows the room as a whole. Move to another corner and take a second shot. Try to include the floor, walls, ceiling, windows, built-in features, and major furniture. These overview photographs establish context: they show where things were, not merely what they looked like. Open each image and review it. If it is too dark or blurry to be useful, take it again.
Open what the wide photographs cannot show
The belongings most easily forgotten are often behind doors. Photograph closets, drawers, cabinets, shelves, and other safe, accessible storage areas. You do not need to empty an entire kitchen at once; work through one cabinet or section, and record what you photographed. For collections or many similar objects, add a short note stating how many were present and whether you counted them individually or as a set. Do not count the same items twice just because they appear in more than one photograph.
Move closer for identification
For electronics, appliances, tools, and other identifiable items, take a clear photograph of the make, model, or serial-number label when you can reach it safely. Record the size, material, brand, and approximate purchase year, if known. A close-up of an unmarked television is less useful than a readable label tied to the television’s location. Keep receipts, order confirmations, or warranty information with your notes when available. If the exact year or model is unknown, state that instead of guessing.
Keep the house itself in the record
Include installed finishes and improvements: flooring, cabinetry, countertops, exterior finishes, windows, built-in shelving, fixtures, and accessible equipment. Before-and-after photos can help explain what changed. Keep estimates, invoices, and proofs of payment separate; each document establishes something different. Do not climb roofs, enter attics, or open equipment panels solely to obtain photographs.
Preserve originals and leave a trail
Save photographs in a folder named for the property and date, with subfolders or notes to identify rooms. Preserve the original image files. If you crop, annotate, or brighten a copy, keep the original as well. Do not rely solely on a messaging-app copy or a video walkthrough; text on labels can be hard to read in compressed video. Make a separate backup outside the home, then open several files from the saved location to confirm they are usable.
A manageable first session
Choose one room, take two wide-angle photographs, open one closet or cabinet, photograph three items with identifying details, and note where the originals are stored. You can expand the record over time. The useful habit is to keep a truthful, understandable record—not to finish the entire house in one afternoon.
Related guides: document your garage and shed and keep a checked backup of your home record.